Removing the Old Bellows
These early cameras were not designed with easy repair in mind. The bellows are held in place with metal tabs that are a part of the film gate. Quick to assemble the first time, but not so easy to disassemble.
It’s a good idea to take pics of each stage of the disassembly to help when installing the new bellows.
Autographic cameras have two main parts, the front section that holds the lens, struts, and bellows and the back that holds the spools of film.
For most of them, the front section lifts out of the rear box to give access to the film gate and the bellows.
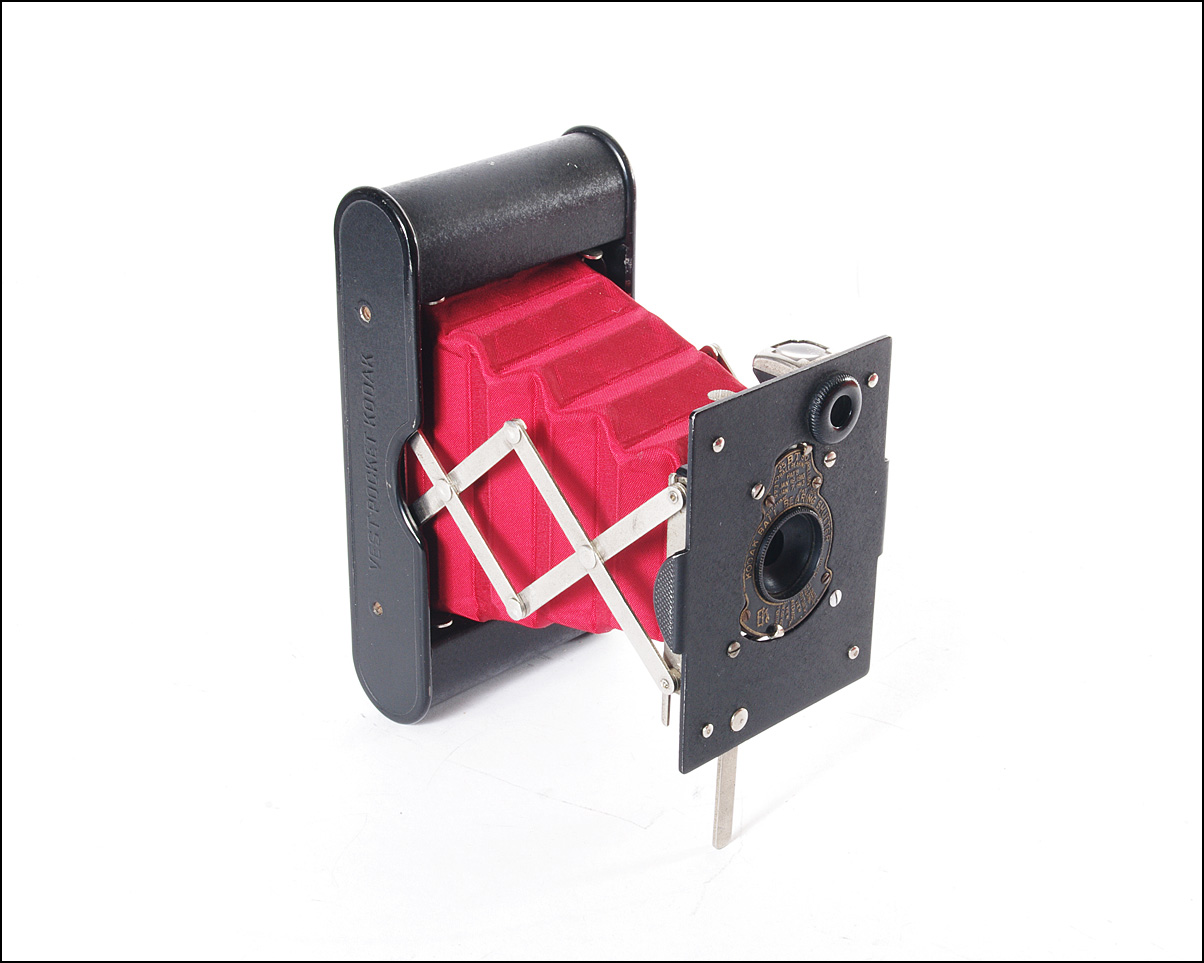
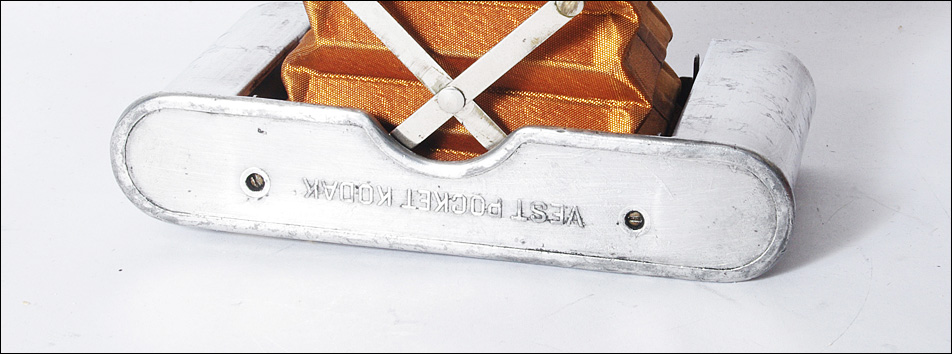
The Vest Pocket Kodak is structured differently. Remove the top cover to reveal the sliding edges of the front section.
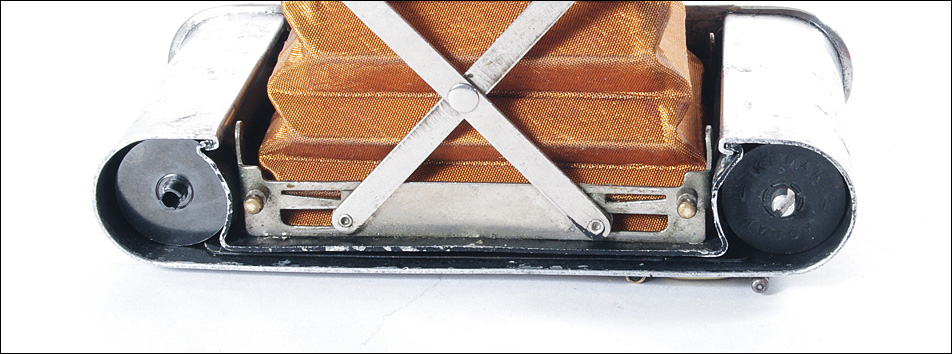
On the underside of the camera body there are two screws – remove these and the front section should slide out easily.
Use a lens spanner to undo the ring-nut at the rear of the shutter. Needle-nose pliers or circlip pliers can be used if the ring-nut is loose, though great care must be taken to avoid slipping and scratching the lens.
Some of the larger cameras have the front disk of the bellows attached to the front standard with two or four rivets. This was not a great design choice by Kodak; for the majority of cameras the lens nut is sufficient to keep both the bellows and the shutter in place.
Once you have removed the shutter, use a 1.5mm or 2mm drill bit to drill out the rivets from behind. From behind, because it means you can use the indent in the rivet as good purchase for the drill bit, and because it reduces the chance of accidentally enlarging the hole.
Once the rear of the new bellows is settled into the camera, the front end can be re-attached to the standard with micro nuts and bolts, such as you can find on the auction site.
Use a small scraper or probe to lift the top edges of the front end of the bellows to remove the front lens disk – mark the top to ensure it goes back the right way when installing the new bellows. A simple mark with a file is good as it can’t be wiped away when the front disk is cleaned.
The rear of the bellows is held in place with bent metal tabs along each side. There may be two along the short sides and three along the long sides. Each of these must be lifted up and straightened to release the bellows.
It’s easier to unbend the tabs if you cut away the old bellows near the base with a fine craft blade.
A hooked or L-shaped dental probe may be the best tool to get under each metal tab to lever it upwards. Once it’s part way up, use the needle-nose pliers to straighten each one.
The tabs can easily break. If one snaps off it’s not a huge problem, but modify your technique to help prevent losing any more of them. If it's too challenging, you may need to use a Dremel and a small cutting disk to carefully grind off the tabs. See the paragraph at the bottom of the page.
The rear of the bellows has a metal frame glued into it. Once all the tabs are free this can be lifted out of the front section. Take care not to bend it, and again, mark the top end so it can go back with the same orientation.
The larger cameras will have a length of black wool thread on the underside of the frame. Pull this away gently and keep it aside, as it can probably be used again when installing the new bellows.
Both the front disk and the rear frame will probably need cleaning to remove traces of glue.
Installing the New Bellows
The external seam of the bellows will face the door of the camera, or face downwards (portrait format) with the early Vest Pocket models.
Install the front disk first. Unlike almost every other camera manufacturer, Kodak used square corners instead of a disk with chamfered corners. This makes them awkward to fit, and you have to jiggle the fabric a little.
Any contact cement that is clean to use is suitable, but not superglue. Narrow double-sided tape works very well. If too much of the flaps covering the disk is trimmed at the corners there is the potential for a light leak just behind the lens.
It’s best to fix the two long sides of the front disk at the same time to ensure the alignment of the disk is good in both directions. Once two sides are in place, trim the open curve with small nail scissors. The two remaining flaps should be flush with the edges of the first pair or slightly overlap them. Trim any remaining excess.
Drop the rear frame into the bellows to check its position – it must be in the middle of the top/bottom axis. Take care to avoid any torsion that could pull the bellows out of square. Using four lengths of double-sided sticky tape make the job very clean and easy. However, some cameras, like the Junior Six-16, have extremely narrow frames and a stronger glue may be necessary. Keep each side clamped until fully dry.
In most cases, the last rib with a card stiffener in it will sit on the top side of the frame, and only the fabric will loop over and be glued. Glue the long sides first.
With the short ends, avoid pulling the fabric too tightly over the frame, as that would impede the first ribs from flexing easily. Cut a small V-shape into each corner so that the narrow ends will fold down flat, and glue in place. When dry, use small curved nail scissors to trim any excess within the frame.
Now is a good time to clean everything around the struts and to check that the channel where the bellows will fit is clean. All the tabs should be pointing straight upwards. If most of the tabs are still present there is no need to use any glue.
The lenses should unscrew easily and you can check they are clean and dust free. The Vest Pocket single meniscus lens should screw down until it comes to a stop.
If you have the length of black wool, reattach it – but there should be no gaps. Compress the bellows and insert them into their position. A slight flexing may be necessary, but once they are below the struts they should fit comfortably into the frame.
Bending the tabs back can be done in two stages. If you insert a blunt probe through the lens hole you can push the frame down against the base. The tabs will be bent onto the frame itself. Rest the camera on a firm surface and pressure them half-way back, perhaps using the closed head of a pair of pliers.
For the final pressure, a strong, angled circlip pliers can be used sideways to press each one down. Check that the tabs are not catching on any ribs and use a thin steel rule to protect the black paint of the film gate and press against it.
If you happen to break too many of the tabs it may be best to grind them all off and set the bellows in place (without any wool) using glue. In this case, fixing a narrow, double-sided adhesive tape to the base of the bellows will likely be the cleanest solution. Otherwise, use an ordinary contact cement, first putting a bead of glue onto the metal frame and then a bead onto the fabric. Once the rear of the bellows is settled into the frame, close the front of the camera to keep pressure on it.
When putting the ring-nut back onto the shutter, check that the edge is not compressing any ribs.
Cut a piece of removable black tape to cover the red window on the rear of the body. The red window was only designed to cope with very low ISO films.